


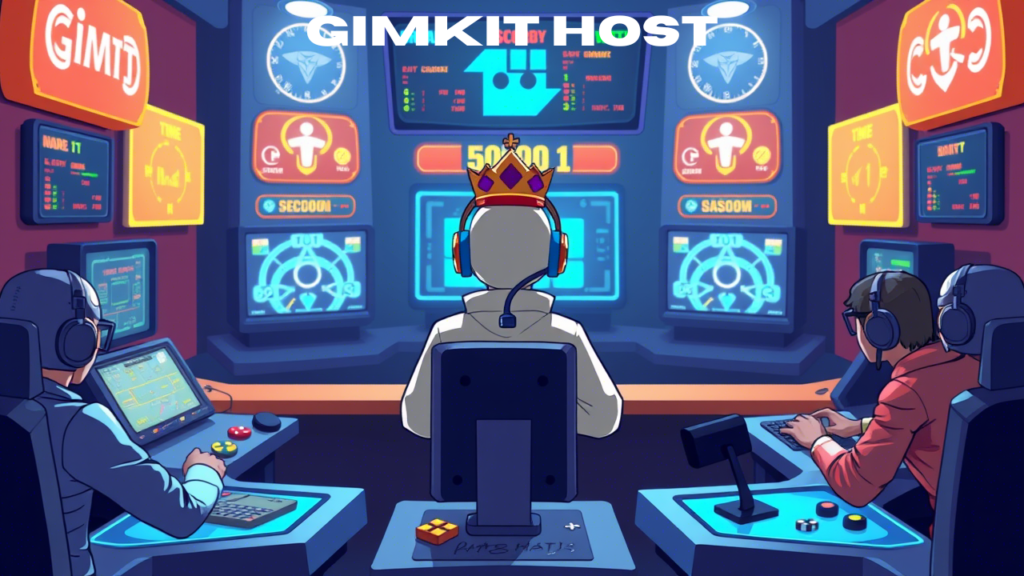
In the modern era of education, interactive learning platforms have revolutionized how students engage with academic content. One such platform that stands out is Gimkit Host. Whether you are a teacher looking for a fun way to reinforce learning or a student wanting to test your knowledge, Gimkit Host plays a crucial role in making the experience seamless and enjoyable. This article will provide a detailed breakdown of what a Gimkit Host does, how to set up a game, and tips for making the most of this engaging platform.
Table of Biography for “Gimkit Host”
| Field | Details |
|---|---|
| Role | Game Facilitator & Manager |
| Purpose | To create, customize, and manage interactive learning games |
| Platform | Gimkit |
| Key Responsibilities | Selecting kits, setting game modes, managing players, analyzing reports |
| Game Modes Available | Classic, Team Mode, Live, Investigations |
| Customization Options | Time limits, player limits, difficulty level, game settings |
| Skills Required | Engagement, monitoring, adaptability, strategy |
| Main Users | Teachers, students, educators, trainers |
| Benefits | Enhances learning, boosts engagement, promotes teamwork |
| Best Practices | Customize kits, encourage participation, analyze reports, experiment with game modes |
What is a Gimkit Host?
A Gimkit Host is responsible for creating, managing, and overseeing a game session on the Gimkit platform. This role is critical because it ensures the game is appropriately set up, runs smoothly, and provides an interactive learning experience for all participants. Whether in a classroom or a virtual setting, the Gimkit Host is the game’s facilitator, ensuring that every player has a fair and engaging experience.
Responsibilities of a Gimkit Host
Being a Gimkit Host involves more than just pressing a few buttons. The host plays a central role in making the game successful. Here are the primary responsibilities:
Creating or Selecting a Kit
A kit in Gimkit is a set of questions and answers used for gameplay. A Gimkit Host can create a custom kit tailored to specific learning objectives or choose from a vast library of pre-made kits on the platform. Custom kits allow hosts to personalize content, making the game more relevant to their audience.
Setting Up the Game
Once a kit is selected, the next step is configuring the game settings. A Gimkit Host can customize various elements, such as:
- Game Mode: Gimkit offers multiple game modes, including “Classic,” “Team Mode,” and “Live.” Each mode has its own unique rules and objectives.
- Time Limits: The host can set a duration for the game, ensuring that it fits within the available time frame.
- Player Limits: To maintain control over the game, hosts can set maximum number of participants.
- Difficulty Level: Depending on the audience, a Gimkit Host can adjust the difficulty of questions to ensure an appropriate challenge level.
Starting and Managing the Game
Once the game is configured, the Gimkit Host launches the session. During gameplay, the host can:
- Monitor player progress in real time.
- Adjust settings as needed.
- Pause or end the game if necessary.
- Ensure a fair and enjoyable experience for all participants.
Reviewing and Analyzing Game Reports
After the game ends, the Gimkit Host can access detailed reports to analyze player performance. These reports highlight areas where participants excelled and where they may need improvement. This data is invaluable for educators who want to track student progress and identify learning gaps.
How to Host a Game on Gimkit
If you are new to Gimkit Host, follow these step-by-step instructions to get started:
Step 1: Log in to Gimkit
Visit the Gimkit website and log in to your account. If you do not have an account, you must create one.
Step 2: Choose a Kit
You can browse the library of available kits or create your own by selecting the “Create Kit” option and adding your questions.
Step 3: Select Game Mode
Choose the most suitable game mode for your session. Consider factors such as the number of players and the desired level of competition.
Step 4: Configure Settings
You can adjust the settings, including time limits, difficulty level, and player limits, to tailor the experience to your needs.
Step 5: Start the Game
Once everything is set, launch the game. Share the game code with participants so they can join.
Step 6: Monitor and Manage the Game
Monitor player progress and adjust as necessary to ensure an optimal experience.
Step 7: Review Reports
After the game ends, analyze the reports to evaluate performance and identify areas for improvement.
Tips for Being a Successful Gimkit Host
To maximize the effectiveness of your game sessions, consider the following tips:
- Engage Participants: Encourage players to participate and actively make the game interactive.
- Customize Content: Tailor questions to align with learning objectives for a more meaningful experience.
- Use Different Game Modes: Experiment with various modes to keep gameplay fresh and exciting.
- Monitor Progress: Monitor player performance to provide real-time feedback and support.
- Encourage Teamwork: In team-based modes, promote collaboration and strategic thinking.
Why Being a Gimkit Host Matters
The role of a Gimkit Host is vital in transforming learning into a fun and engaging experience. Hosts can create an interactive environment by properly setting up and managing games where students are motivated to participate and improve their knowledge. Whether in a traditional classroom, a remote learning setup, or even a casual learning session, a well-organized Gimkit Host can make all the difference.

Final Review
Hosting a game on Gimkit is more than just running a quiz; it is about fostering engagement, interaction, and learning excitingly. A Gimkit Host can turn an ordinary lesson into an unforgettable experience. Anyone can become an exceptional host by understanding the platform, customizing content, and using effective strategies. If you are looking for an innovative way to make learning enjoyable, embracing the role of a Gimkit Host is the perfect step forward.